Hello and Happy Monday!!!! This book is made for the current topic on the PaperArtsy Blog -
Mint,
Sage,
Claret, and
Gold and is on the
PaperArtsy Blog today along with my thoughts about creating the book.
On my blog I have step-out pictures of the creating process. Many of the pictures speak for themselves so I will just add info that might not show or that needs clarification.
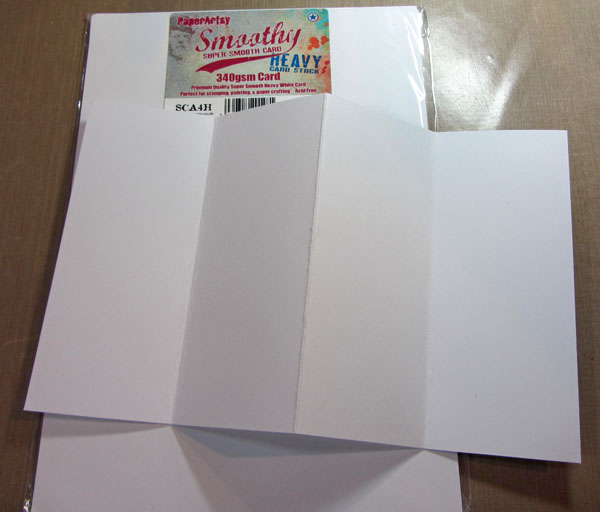
My paper is 7" x 11 5/8". It was folded in half and then each half folded in half to create 4 panels.
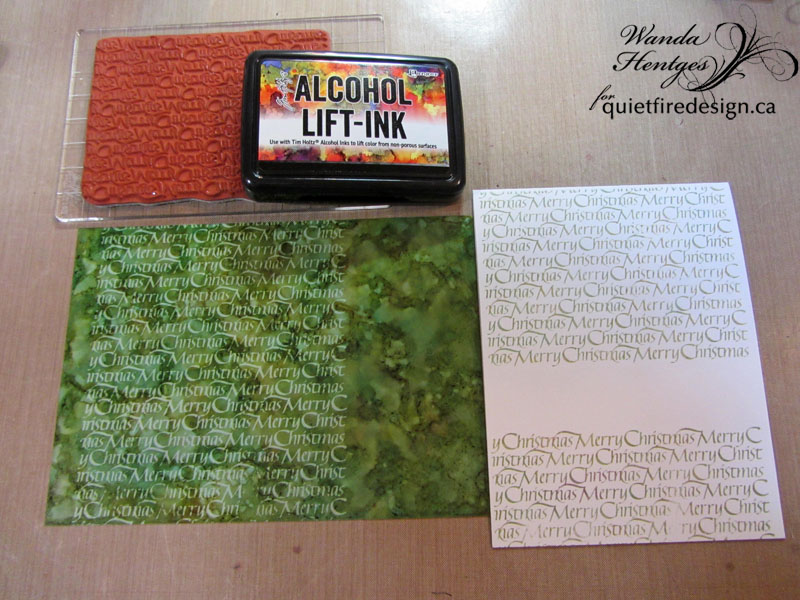
I think the best way to stamp with paint is to put some on the craft sheet, spread it with my finger for an even thin area, place the stamp in the paint, and then stamp onto the project.
I forgot to include the bottle of paint - Hint of Mint.
Tone on tone stenciling is very effective!!
The crackle glaze was spread with a plastic card and then I used my finger to make it even thinner where the pages fold.
Hint of Mint and Claret were mixed to get the pink color added over the grunge paste.
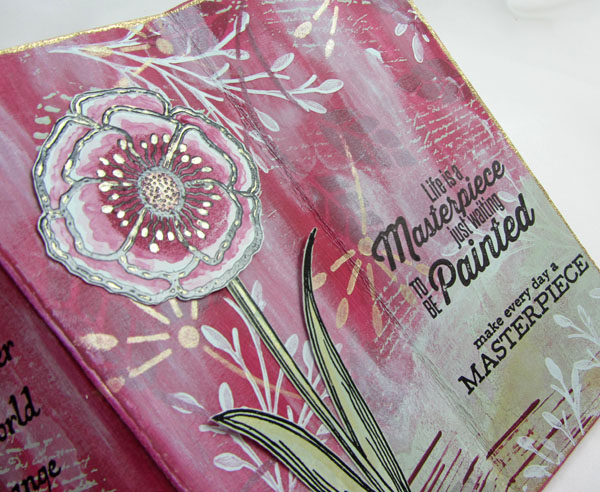
I stamped the quote a few times to get it nice and dark over the painted background.
After the stenciled flower was dry, I cut it out, poked holes in the center and added shaping to the petals with Susan's Garden Flower Tools and Foam.
Cheese cloth colored with watered down Claret...
... and some done with Gold.
The colored cheesecloth gave the flower something to sit on and added extra texture.

I painted a scrap of card with Hint of Mint and added a circle of Claret with a large dauber.
Stamped and embossed the flower image. I didn't really like the circle of Claret and wished I had just added it after with a brush. I almost started over but decided to still try adding Claret with a brush which I did. I also used lots of water so it was more like water coloring with the Claret. I also painted in some Gold.
The Stamp Platform worked great to line up the two stamps and stamp them both at once, multiple times.
To "ground" the flower I added Claret lines using a plastic card and took them into the panels on either side. It seemed a bit empty under the words of the last panel so I added more branch stamping with Hint of Mint.
The edges were dabbed with Gold paint, Queen's Gold Embossing Powder (Ranger) added onto the wet paint, and heated/melted with a heat tool.
For the cover I cut
Grey Board to size. Tissue paper was cut so it could be wrapped around the grey board. I painted the tissue with watery Claret and dried it.
I wrinkled the tissue very, very well and then glued it to the grey board. Trimmed the corners and glued it around to the back.
Lightly brayered Hint of Mint so the it just caught the wrinkles and also did around the edges.
Mixed Claret with Grunge Paste and put it through the stencil. Moved my palette knife wrong and pushed some paste under the stencil. Once I took the stencil off I cleaned what I could off of where it wasn't supposed to be and let it dry. Put the stencil back on and painted with Gold.
Added doodling with Pens and glued on gems. You can still see the pink some but I'm ok with it.
Stamped the quote onto a scrap painted with Hint of Mint, cut out what I wanted for the front and back covers. For the piece on the front cover I dabbed on Gold paint with my finger and then heated it to dry allowing it to bubble and then pressing those areas flat.
Attached ribbon, using strong double sided tape, to the back of just the first panel.
Glued on the covers. The ribbon wraps around the back and can be tied on the side.
I hope you've enjoyed seeing the process!!!
Thanks for following along!!
Hugs, Wanda